


After repairing a Mercedes Burmester sound system, recalibrate for optimal performance. This involves accessing the head unit, adjusting settings like frequency and equalization, and testing diverse audio to ensure even volume and clarity across all speakers, enhancing the immersive listening experience.
After a Mercedes Burmester sound system repair, recalibration is key to restoring optimal audio performance. This guide details the process of calibrating your system, focusing on understanding its components and precise steps for accurate adjustment. From identifying essential settings to testing and optimization, we’ll walk you through ensuring your restored sound experience meets the highest standards. By following these steps, you’ll enjoy a refined listening journey tailored to Mercedes Burmester’s signature audio excellence.
- Understanding Mercedes Burmester Sound System Components
- Calibration Process After Sound Repair: Step-by-Step Guide
- Testing and Optimizing Your Restored Sound Experience
Understanding Mercedes Burmester Sound System Components
The Mercedes Burmester sound system is renowned for its superior audio quality and intricate components. Understanding these elements is crucial when recalibrating after any repair, especially focusing on Mercedes Burmester sound repair. The system comprises multiple speakers strategically placed within the vehicle, each designed to deliver optimal sound clarity and balance. These include tweeters, mid-range drivers, and woofers, working in harmony to create a rich, immersive listening experience. Additionally, the head unit acts as the central control hub, managing sound output and allowing users to customize various settings.
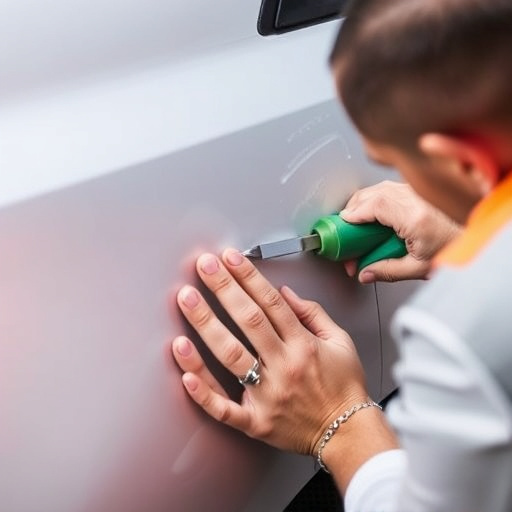
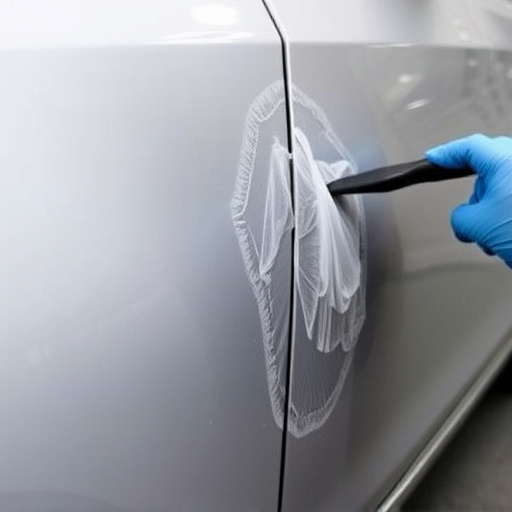
During vehicle restoration or after a repair involving dent removal or car paint repair, it’s essential to recalibrate the system for accurate audio performance. This process ensures that each speaker is functioning at its best, aligning sound waves perfectly to create a seamless auditory experience. Recalibration involves adjusting equalization settings and fine-tuning the system to compensate for any changes in the vehicle’s interior or after repairs.
Calibration Process After Sound Repair: Step-by-Step Guide
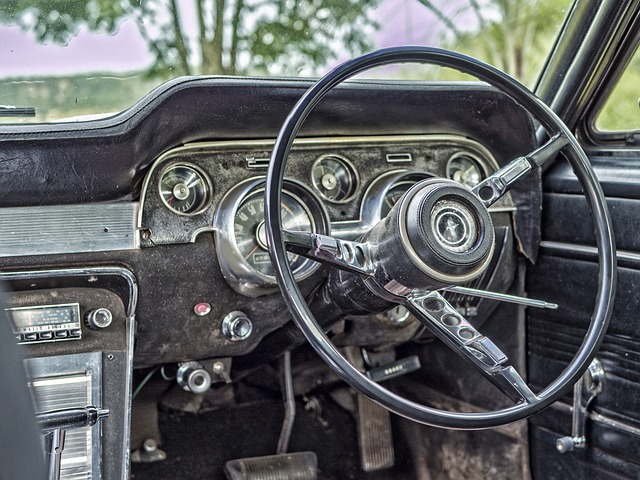
After completing a Mercedes Burmester sound repair, recalibrating the system is a crucial step to ensure optimal audio performance. The process involves several precise steps that can be broken down into a manageable guide. Firstly, locate the vehicle’s main audio control unit, which is typically found in the dashboard or under the steering wheel. Next, power off the vehicle and reconnect all cables associated with the Burmester system, ensuring each connection is secure.
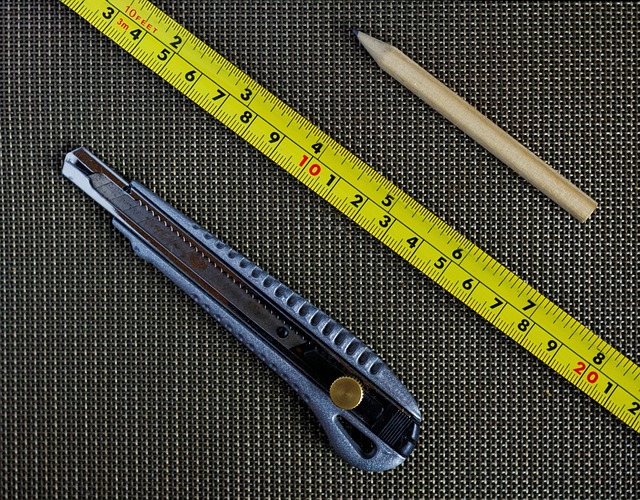
Once the unit is accessed, initiate the calibration procedure by following the manufacturer’s instructions. This often involves using a specialized calibration tool to adjust various settings, including frequency response, equalization, and channel assignment. During this process, listen carefully for any discrepancies in sound quality; adjust accordingly until the Mercedes Burmester sound reaches the desired consistency. Remember, the goal is to restore the immersive audio experience that aligns with Mercedes-Benz’s high standards, enhancing your vehicle repair services and ensuring customer satisfaction.
Testing and Optimizing Your Restored Sound Experience
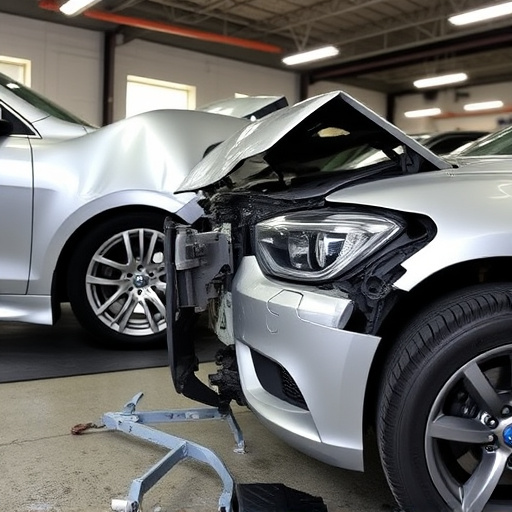
After successfully repairing your Mercedes Burmester sound system, it’s crucial to test and optimize your restored audio experience. The first step is to play various types of music or media content at different volumes to ensure even sound distribution throughout the vehicle. Check for any distortion, humming, or uneven volume levels in each speaker. Utilise an auto body shop’s diagnostic tools if available, or a high-quality sound level meter to measure and compare performance across different speakers.
Next, focus on fine-tuning the system’s settings. Adjust the equaliser to tailor the audio to your preference, enhancing bass, treble, or midrange as needed. Consider the specific needs of your vehicle’s interior space and seating arrangement. Remember that a well-calibrated Mercedes Burmester sound system should deliver a rich, immersive auditory experience without any noticeable imperfections. This process ensures not only optimal performance but also maximises the enjoyment of your restored sound system, transforming your auto body repair into a truly satisfying experience.
After repairing your Mercedes Burmester sound system, recalibration is a crucial step to ensure optimal audio performance. By following the step-by-step guide provided and testing the system thoroughly, you can restore the rich, immersive sound experience that defines Mercedes luxury. Remember, proper calibration is key to unlocking the full potential of your vehicle’s audio capabilities, ensuring every note and detail is delivered with precision and clarity.